Archive
Real Food
Real Baby Carrots
Oops, it’s been a few months since my last post. So, what are my excuses this time? The usual—holidays, sickness, family stuff, doggie drama, and work. I had a respiratory infection that lasted over seven weeks. During that time, I didn’t cook very much and when I did, it wasn’t inspired. Some of the results were downright dismal. Definitely not blog worthy. Unless, I wanted to write about my failures, which could be funny. I was beginning to think there was a curse in my kitchen. Maybe it was just my taste buds weren’t working. Thankfully, my taste buds are returning to normal and I’m cooking more.
Sautéed Baby Carrots
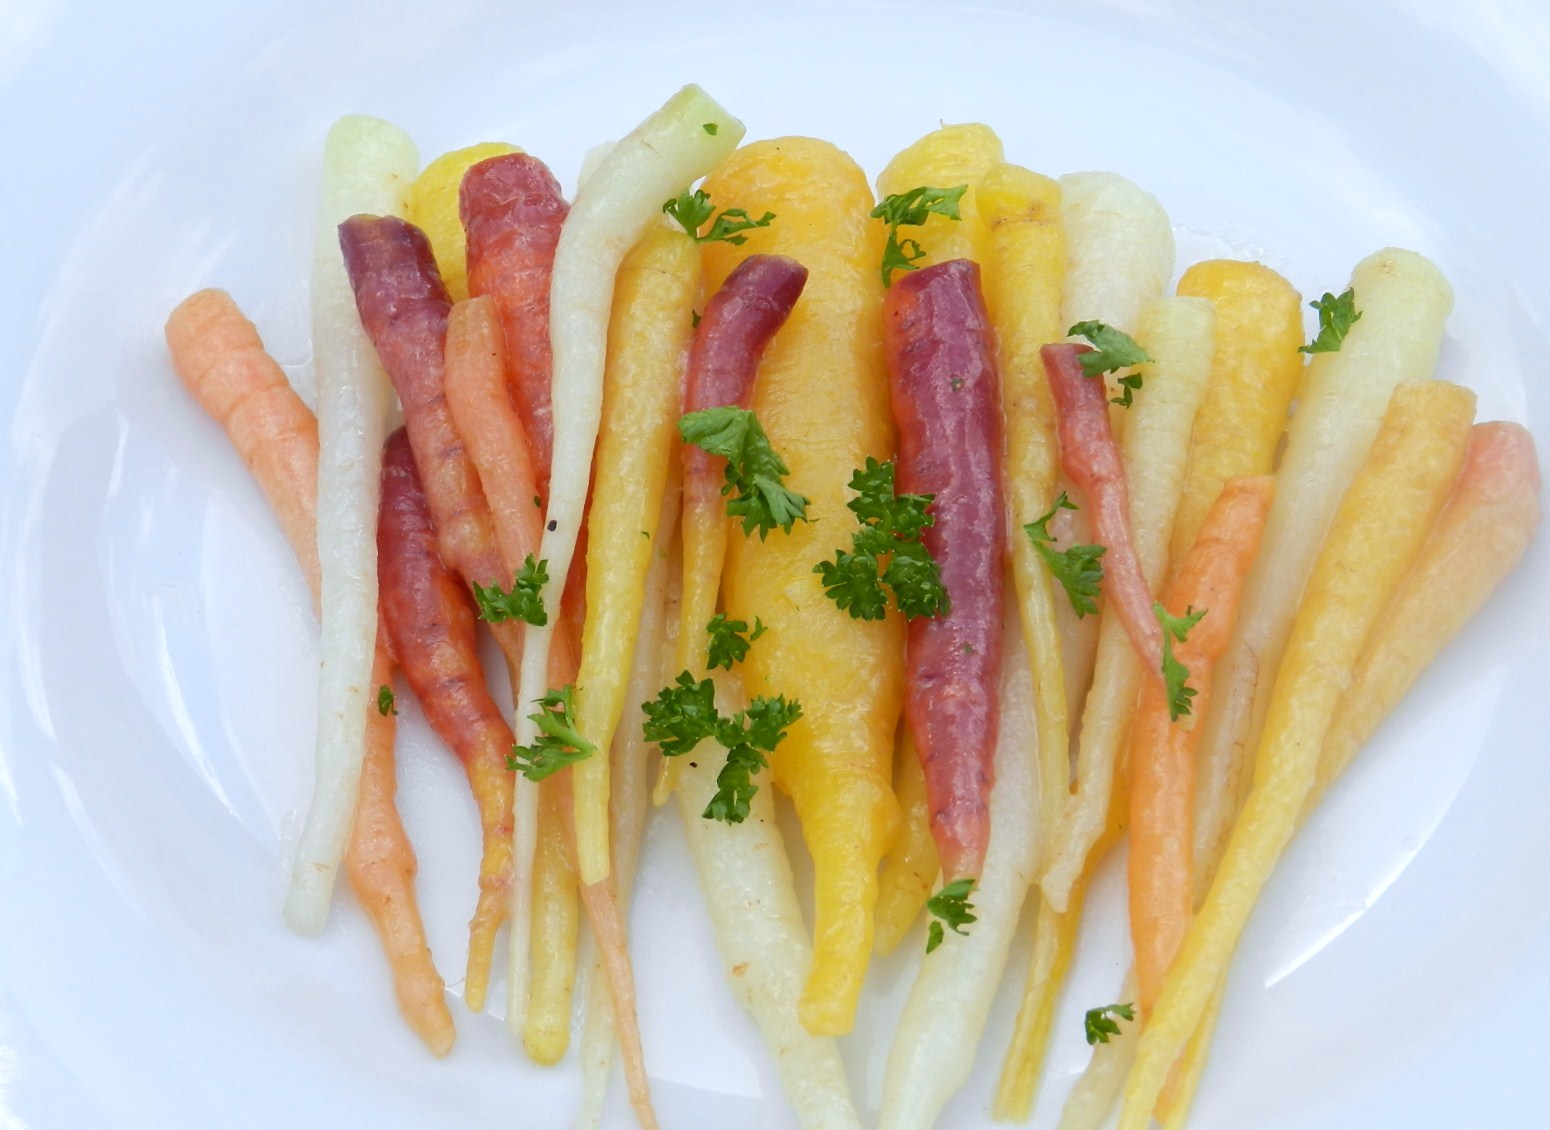
This weekend, I made something that was so simple; it was not even recipe worthy. However, it was divine. It all started in our backyard. We were clearing out the winter garden to make room for the early spring garden. I’m not sure if we are supposed to do this now, but the timing seemed right to get the onions in the ground. We’re learning what works for us. In the process of clearing space, we had to sacrifice some carrots. We harvested the prettiest, most tender baby carrots I’ve ever seen. They were an organic rainbow mix – orange, yellow, white, and, purple. Beautiful and delicious.
I trimmed the stems and put them in the compost. Washed the carrots. In a skillet over medium heat, I steamed/sautéed the largest ones first in just a bit of water. Then added the next ones in size. I added the tiniest carrots at the end of cooking; they only had a few seconds on the heat. By this time, the water was gone, so I added a smidge of butter. I then topped them with freshly snipped parsley and a sprinkle of Kosher salt. Within 30 minutes, the carrots went from in the ground to on our table. To me, food doesn’t get much fresher or better.
It sounds silly, but they were so “carroty” tasting that it’s almost indescribable. If your only experience with baby carrots is with those little nubby things in the grocery store, then you are missing a treat. I would highly recommend buying some at a local farmers market or even better yet, growing your own. Carrots are easy to grow. You can even grow them in a deep pot if space is a problem.
Happy eating and happy gardening!
Post 11/13 – Oven Roasted Butternut Squash
 This summer, Matt and I tried our hand at raised bed gardening. We were fairly successful with some vegetables: butternut squash, zucchini, radishes, lettuce, sweet potatoes, tomatillos, and tomatoes. We were not so successful with green beans, yellow crookneck squash, and cucumbers. Thank goodness for local farmer’s markets!
Butternut squash was probably the most rewarding vegetable we grew. They matured faster than expected. The vines lasted a long time. We had a few separate harvests with good yields! We still have some. It’s one of our favorites, and it’s even better home-grown.
One night via Facebook, my friend Shelli asked me for butternut squash recipes. I gave her a few ideas: butternut and sage lasagna, butternut ravioli, and a butternut soup. She said these suggestions sounded good, but she wanted something fast since it was a week night. So I responded with my quick and easy roasted butternut squash recipe.
Oven Roasted Butternut Squash
1-3 Butternut squash, cut into ¼”-1” chunks/cubes
1-4 tablespoons olive oil
Kosher Salt
Pepper (black and/or cayenne)
Optional seasoning: cumin, Aleppo pepper, and chipotle pepper
Optional veggies: golden beets, sweet potatoes, onions, potatoes, parsnips, and carrots
Preheat your oven and a cookie sheet with a lip (sheet pan or jelly roll pan) covered in foil (this makes clean up much easier) to 450º degrees F. While preheating the oven and the cookie sheet, prepare your butternut squash (and any other vegetable you want to roast, like golden beets, sweet potatoes, onions, potatoes, parsnips, and carrots). You can also add chopped garlic, but wait until the end to add it or it might burn.
Butternut squash can have a tough peel that makes them a little difficult to prep. To me, the easiest way is to use a sharp chef’s knife to cut off the stem end and the bottom end. This makes it more stable. You can rest it on towel-covered cutting board and then use a vegetable peeler to remove the peel. It seems easier to peel top to bottom before you cut it. Remove the peel and cut off the neck. Then, slice the bottom lengthwise. Use a large, study spoon or an ice cream scoop to remove the seeds. It’s like cleaning a pumpkin for a jack-o-lantern, but not as messy. Slice it into half moons and then cut them into chunks/cubes. You probably want the chunks about ¼” to 1” and relatively the same size. Unless you are like me and you like some pieces tender and some crispy, then cut some pieces 1” and others about 1/4”.
 Place the squash chunks in a mixing bowl. Pour in a little olive oil, sprinkle with salt and pepper (I like Penzeys’ Black and Red pepper blend), and any other spices you might like (especially cumin or chipotle pepper).
Carefully spread it evenly on the hot cookie sheet. It should sizzle a bit. Check every 15 minutes and stir. Roast until it gets tender and has a nice color. The cooking time depends on your oven, the temperature of the cookie sheet when you start, and how many vegetables you are cooking. Keep checking. It should probably take about 30-40 minutes, depending on how crispy you like it.

