Archive
Real Food
Real Baby Carrots
Oops, it’s been a few months since my last post. So, what are my excuses this time? The usual—holidays, sickness, family stuff, doggie drama, and work. I had a respiratory infection that lasted over seven weeks. During that time, I didn’t cook very much and when I did, it wasn’t inspired. Some of the results were downright dismal. Definitely not blog worthy. Unless, I wanted to write about my failures, which could be funny. I was beginning to think there was a curse in my kitchen. Maybe it was just my taste buds weren’t working. Thankfully, my taste buds are returning to normal and I’m cooking more.
Sautéed Baby Carrots
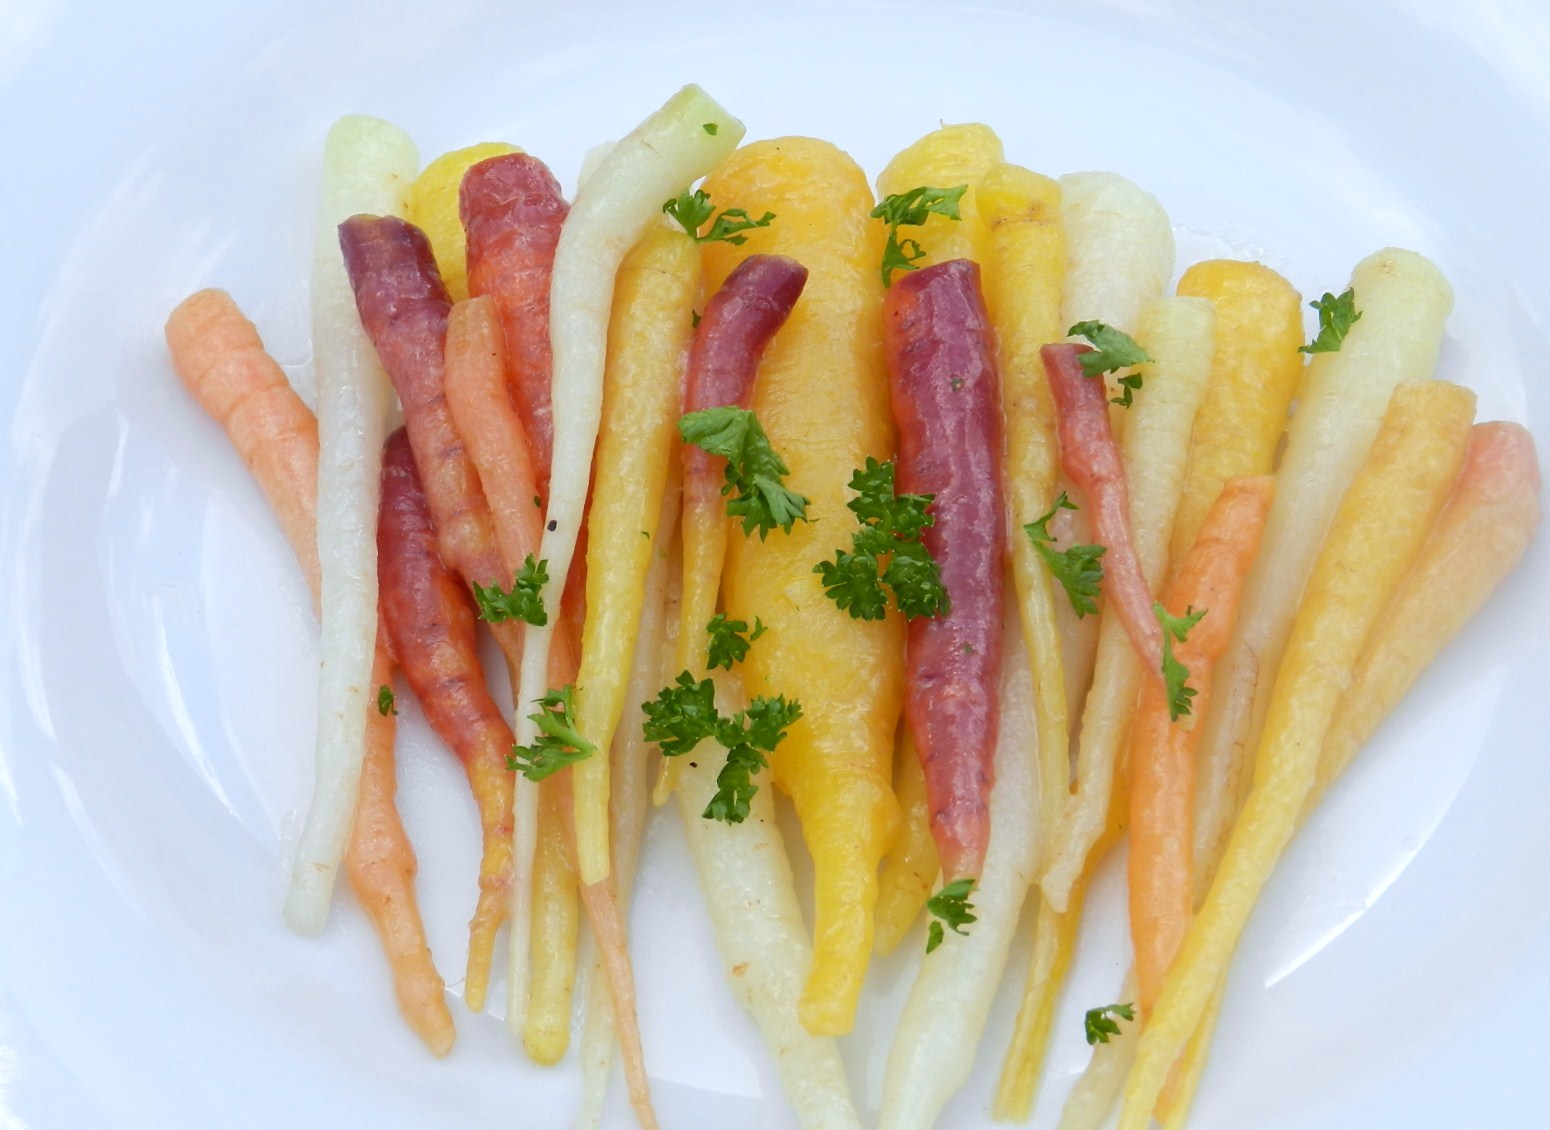
This weekend, I made something that was so simple; it was not even recipe worthy. However, it was divine. It all started in our backyard. We were clearing out the winter garden to make room for the early spring garden. I’m not sure if we are supposed to do this now, but the timing seemed right to get the onions in the ground. We’re learning what works for us. In the process of clearing space, we had to sacrifice some carrots. We harvested the prettiest, most tender baby carrots I’ve ever seen. They were an organic rainbow mix – orange, yellow, white, and, purple. Beautiful and delicious.
I trimmed the stems and put them in the compost. Washed the carrots. In a skillet over medium heat, I steamed/sautéed the largest ones first in just a bit of water. Then added the next ones in size. I added the tiniest carrots at the end of cooking; they only had a few seconds on the heat. By this time, the water was gone, so I added a smidge of butter. I then topped them with freshly snipped parsley and a sprinkle of Kosher salt. Within 30 minutes, the carrots went from in the ground to on our table. To me, food doesn’t get much fresher or better.
It sounds silly, but they were so “carroty” tasting that it’s almost indescribable. If your only experience with baby carrots is with those little nubby things in the grocery store, then you are missing a treat. I would highly recommend buying some at a local farmers market or even better yet, growing your own. Carrots are easy to grow. You can even grow them in a deep pot if space is a problem.
Happy eating and happy gardening!
Harvest Meal

Harvest Basket + 5 Ingredients
We often have pantry meals – we make something for dinner out of just what we have in the pantry (and maybe add a few things from the refrigerator and/or freezer). These meals can be creative. Sometimes we just don’t want to go to the grocery store or farmers market, this is a good alternative. Well this week, I went outside and harvested a basket of veggies from the garden: tomatoes, spaghetti squash, green beans, onions, bell peppers, cucumbers, celery, and herbs. I decided to make a “harvest meal,” using the ingredients in the basket plus 5 kitchen staples: olive oil, balsamic vinegar, Parmesan cheese, salt, and pepper.
I made a quick marinara sauce to top the spaghetti squash and served it with sautéed green beans, and a chopped salad. It was a tasty meal, made even better because we grew the veggies! We’ve only been gardening for two years, so it’s still a treat when we harvest. I don’t really have recipes and exact measurements, just guidelines. Hope you are enjoying the summer bounty! It’s time to think about a fall garden.
Spaghetti Squash with Marinara Sauce
Olive oil
Onions, chopped
Celery leaves and stems, chopped
Bell peppers, chopped
Tomatoes, chopped
Salt and pepper
Fresh herbs (basil, parsley, oregano)
Balsamic vinegar
Spaghetti squash pasta (see the next recipe)
Parmesan cheese
Heat some olive oil in a pan; add the onions, celery, and bell peppers. Sauté until tender. Add the tomatoes, salt, and pepper. Cook until the tomatoes are tender. You can mash some of the tomatoes with a fork or potato masher or even use an immersion blender. Depends on the texture you prefer. Stir in a splash of balsamic vinegar and the fresh herbs. Serve over the spaghetti squash with a sprinkle of Parmesan cheese.
Spaghetti Squash “Pasta”
1 medium spaghetti squash
You can bake spaghetti squash in the oven at 350º F for 45 minute to an hour, until tender. However, it is August and I prefer not to heat up the house by using the oven for this. The microwave does a fine job.
You can cook spaghetti squash whole, but I prefer to cut them. Wash the outside of the squash. Dry it thoroughly. The rind is tough so it can be a little tricky to cut, so use care when cutting it. Wrap it in a towel, place it on a cutting board and use a large knife to slice it lengthwise from stem to end. Then use a spoon or a sturdy ice cream scoop to scoop out the seeds and the stringy stuff. This is similar to how you clean a butternut squash or a pumpkin.
Place the two halves cut side up in a microwave safe container (I use a Pyrex pie plate). Fill the cavities with water. Pour a little extra water in the bottom of the container. Microwave on high for 5 minutes. Rotate the squash halves and pour a little more water over the cut edges – this keeps them from drying out. Microwave another 5 minutes. Let them rest for about 5 more minutes. Then, use a fork to shred the squash so that it looks like strands of spaghetti.

Finished Meal
Green Beans
Green beans, washed and snapped (if needed)
Olive oil
Salt and pepper
Fresh herbs (basil, parsley, oregano)
Heat the olive oil in a frying pan or wok. Stir in the green beans. Sauté until slightly tender (I like them with a little bite). Sprinkle with salt, pepper, and fresh herbs.
Chopped Salad
Tomatoes, chopped
Cucumbers, chopped
Onions, chopped
Celery leaves, chopped
Olive oil
Balsamic vinegar
Salt and pepper
Parmesan cheese
Fresh herbs (basil, parsley, oregano)
Toss the vegetables in a bowl. Drizzle with olive oil. Add a splash of balsamic vinegar. Sprinkle with salt, pepper, Parmesan cheese, and fresh herbs. Toss well. Serve.
Blogiversary!

Bread and Butter Pickles
Today marks the 1 year anniversary of The Flaming Pot Holder (and it is my 46th birthday)! Thank you all for reading my posts, trying the recipes, commenting on the recipes, sampling my food/drinks, offering excellent feedback, sharing my blog with friends, etc. I truly appreciate it! I have thoroughly enjoyed the past year. I am looking forward to the upcoming year and some changes to the blog – weekly postings, categorizing the recipes, revamping the look of the blog, improving my photographs, and creating a Facebook page for the blog. All in due time :)
This blog started with a tribute to my mom – recreating her cornbread recipe. Today’s post is also about my mom, this time her incredible Bread and Butter Pickles. The pickles in the photo were actually made by my mom. Mom made me a batch for my birthday in 2009. She shared a few jars with friends, but the rest of the batch was mine. Best. Gift. Ever! Mom’s friend Ursula had an extra jar from my mom and she gave it to me. We are down to the last jar and a half and we are savoring every bite.
I have never made these pickles by myself. Over the years, I helped my mom countless times. When our second set of cucumber plants start producing, I’ll make my very own batch. Hope you enjoy mom’s recipe for bread and butter pickles. They are a wonderful accompaniment to a garden-fresh veggie dinner with cornbread!

Bread and Butter Pickles (Print recipe)
Vegetables:
9 cucumbers, washed, NOT peeled
6 medium white onions
1 green bell pepper
1 red bell pepper
6 garlic cloves
⅓ cup salt
Ice
Wash the cucumbers, do not peel them. Peel the onions. Wash and core the bell peppers. Peel the garlic. Slice the vegetables thin (either a mandolin or a food processor would work well and save some time). Layer the vegetables with ice and salt. End with a layer of salt on top. Cover with a lid or a clean towel. Let everything sit for at least 3 hours (or overnight). Drain thoroughly. Make the pickling mixture:
Pickling Mixture:
3 cups distilled white vinegar
5 cups sugar
1½ teaspoons turmeric
1½ teaspoons celery seed
2 tablespoons mustard seeds
Combine the ingredients and pour the mixture over the drained vegetables. Heat to boiling only (stirring every now and then). Ladle into 8 sterile pint jars. Process according to your canner’s instructions. Wait one month after canning before serving. Makes: 8 pints.

Three Handwritings – Grandmom, Dad, and Mom?
Tomatoes

Tomatoes from Our Garden
One of my favorite things about summer is fresh tomatoes! I’m not a fan of the heat and humidity in Alabama, but they certainly make wonderful growing conditions for tomatoes. In our second year of gardening, we are growing several varieties of tomatoes – Cherokee Purple, Chello (yellow/orange cherry), Mr. Stripey (orange and yellow), Arkansas Traveler (pink), Green Grape, Black Cherry Tomato, and Jubilee (yellow and orange). Quite the colorful harvest!
My favorite ways to eat fresh tomatoes – salsa, pasta sauce, soup, salad, and sandwiches! Or, just eat them plain! Growing up, tomato sandwiches were an almost daily fixture in the summer. I like traditional tomato sandwiches, but my favorite is a toasted, open-faced sandwich. Growing up, we called it a Summer Sandwich. Matt and I enjoyed our first sandwich a few weeks ago. Tastes even better when you grown the tomatoes in your garden! The sandwiches are especially good if you are local and can purchase FredBread. Great bread baked in downtown Huntsville, by a guy named Jeff!
I haven’t included any measurements in the “recipe.” This is just a general guideline. Feel free to customize it to your tastes. Hope you like it!
 Summer Sandwich
(a.k.a. Toasted Open-Faced Tomato Sandwich)
Bread
Mayo
Mustard
Tomatoes, sliced
Salt and Pepper
Onions, sliced
Herbs, fresh or dried, basil, parsley, etc.
Cheese

Slice bread. Spread with mayo and mustard. Top with sliced tomatoes. Sprinkle with salt and pepper. Add onion slices. Top with herbs. Cover with cheese. Toast in a preheated 350º F toaster oven (or regular oven) until the cheese melts. Sprinkle with a few extra fresh herbs if you want. Serve and enjoy the taste of summer!

